Owning a recreational vehicle (RV) is a dream for many, providing the freedom to explore the open road with all the comforts of home. However, like any home, an RV requires regular maintenance. One common issue that RV owners encounter is a leaky roof. If left unattended, a roof leak can lead to substantial damage and costly repairs. Use this helpful walkthrough to learn how to repair an RV roof that's leaking.
The Importance of Regular RV Roof Maintenance
RV roofs are subjected to harsh conditions, from scorching sunlight to heavy rains, snow, and even hail. Moreover, the constant vibration and movement when on the road can also stress the roof, leading to potential leaks. Regular maintenance and inspections are critical in identifying any emerging issues and addressing them before they escalate into larger problems.
Identifying the Source of the Leak
Identifying the source of a leak is the first step in resolving the issue. You can do this by carefully examining the interior and exterior of the RV for signs of water damage. Inside the RV, look for water stains on the ceiling, walls and floor edges. Make sure to inspect the area around windows, doors, vents, and other openings.
On the outside, pay close attention to areas around vents and any rooftop HVAC systems. These are often prone to leaks, as the sealants around them tend to dry out over time. If your RV has a ladder and its roof can support your weight, consider climbing up for a closer inspection. However, always prioritize safety and avoid stepping on any areas that feel soft or unstable.
Performing Temporary Fixes
Once you've identified the source of the leak, it's crucial to apply a temporary solution to prevent further damage until a permanent repair can be made. There are several options available for temporary fixes.
Using a Tarp
Covering your RV roof with a tarp is the simplest and quickest temporary fix. Ensure the tarp is tight to prevent it from being lifted by the wind, which could cause further harm. However, remember to avoid running your HVAC system or kitchen appliances when your RV is tarped as it could potentially block vents and increase the risk of CO2 buildup or worsen leaks.
Applying a Roof Patch
Having a roof patch in your RV arsenal is handy for fixing leaks swiftly. These are typically available at RV supply stores and are easy to apply following the instructions provided.
Drying Out Your RV
After applying a temporary fix, use an electric heater, dehumidifier, or heavy-duty fan to dry out the interior of your RV as much as possible. This helps prevent the growth of mold and mildew, which could lead to health problems and further damage to your RV.
Implementing Permanent Fixes
Once you're in a position to make a more permanent repair, it's advisable to do so promptly. There are various types of RV roofs, each requiring different repair methods. This guide will focus on the most common types.
Repairing EPDM and TPO Rubber Roofs
EPDM (Ethylene Propylene Diene Monomer) and TPO (Thermoplastic Polyolefin) are popular choices for RV roofs due to their durability and resistance to UV rays. Both types come in rolls and are applied using adhesive and heat welding for a watertight seal. If your RV has one of these types of roofs, regular inspection and maintenance, particularly around vents and other openings, are vital.
Repairing Fiberglass and Aluminum Roofs
Fiberglass and aluminum roofs are robust and durable, but they can still leak around vents or from damage to the roof itself. For leaks around vents, consider reapplying sealant after removing and replacing the vent. For holes or cracks, it may be necessary to seek professional help or learn to repair the material yourself.
Repairing Popup Camper Roofs
Popup camper roofs, typically made of canvas or fiberglass, can leak from the seams or from holes in the material. Small holes in the canvas can be patched using a kit, while larger holes may require a complete replacement. Seam leaks can usually be addressed by applying sealants or seam tape.
Repairing Wooden Roofs
Wooden roofs are rare and usually only found on historic or DIY RVs. These roofs can leak around any screws or nails used in their construction. If your RV has a wooden roof, consider replacing it with a more traditional roofing material.
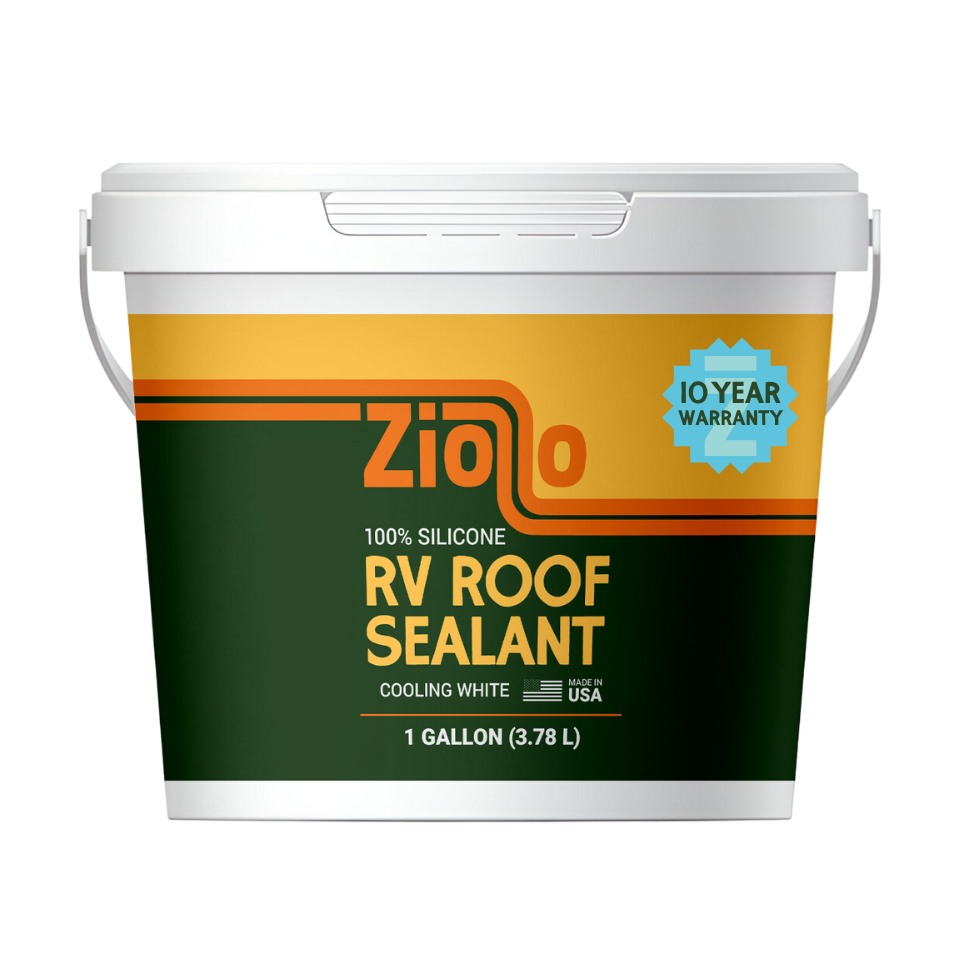
Using Ziollo for a One-Weekend Restoration
For a quick and effective solution to a leaky RV roof, consider using Ziollo's one-weekend restoration kit. This kit includes all the materials you need to repair your RV roof in just a weekend, allowing you to hit the open road sooner. With straightforward instructions and high-quality materials, this kit offers a reliable solution for DIY enthusiasts.
The Bottom Line
Learning how to repair an RV roof that's leaking is an essential skill for any RV owner. By regularly inspecting your RV roof and addressing any issues promptly, you can prevent costly repairs and ensure your RV remains a comfortable and safe home on the road. Whether you're a DIY enthusiast or prefer to seek professional help, understanding the basics of RV roof repair can help you maintain your RV in top condition.


