Nothing ruins an RV adventure faster than a leaky roof. Water can cause significant damage to the interior of your RV, not to mention all of your belongings. While an RV roof leak can be a daunting task to tackle, you can easily fix it yourself with the right tools and materials.
This DIY guide will provide you with simple and easy steps to help you quickly and effectively fix your RV roof leak. So, don’t let a leaky roof ruin your adventure - get started on your RV roof repair today!
What You Need to Fix an RV Roof Leak
Before you begin your RV roof repair, it’s important to make sure you have the right tools and materials. Look no further than our RV Roof Restoration Kits -- they come with all the materials that you’ll need to get this DIY weekend job done right the first time.
Make sure you select the right amount of material -- this will vary depending on the size of your RV’s roof. Use the sizing chart we offer before you add your purchase to the shopping cart to ensure that you have the right amount of supplies before getting started.
- Clean your RV’s roof: You want it to be free from dirt, oil and debris. We advise that you use a power washer and an eco-friendly cleaner. You’ll want to ensure that you also remove any old, flaking caulking. Use acetone as the final primer step before you begin any repairs; this helps the new sealant fully bind to your RV.
- Prep your RV for repair using our signature products. Use our Ziollo Paintable RV Roof Seam Tape for gaps and seams. Use Ziollo Self-Leveling RV Roof Lap Sealant around seams and vents and your skylights.
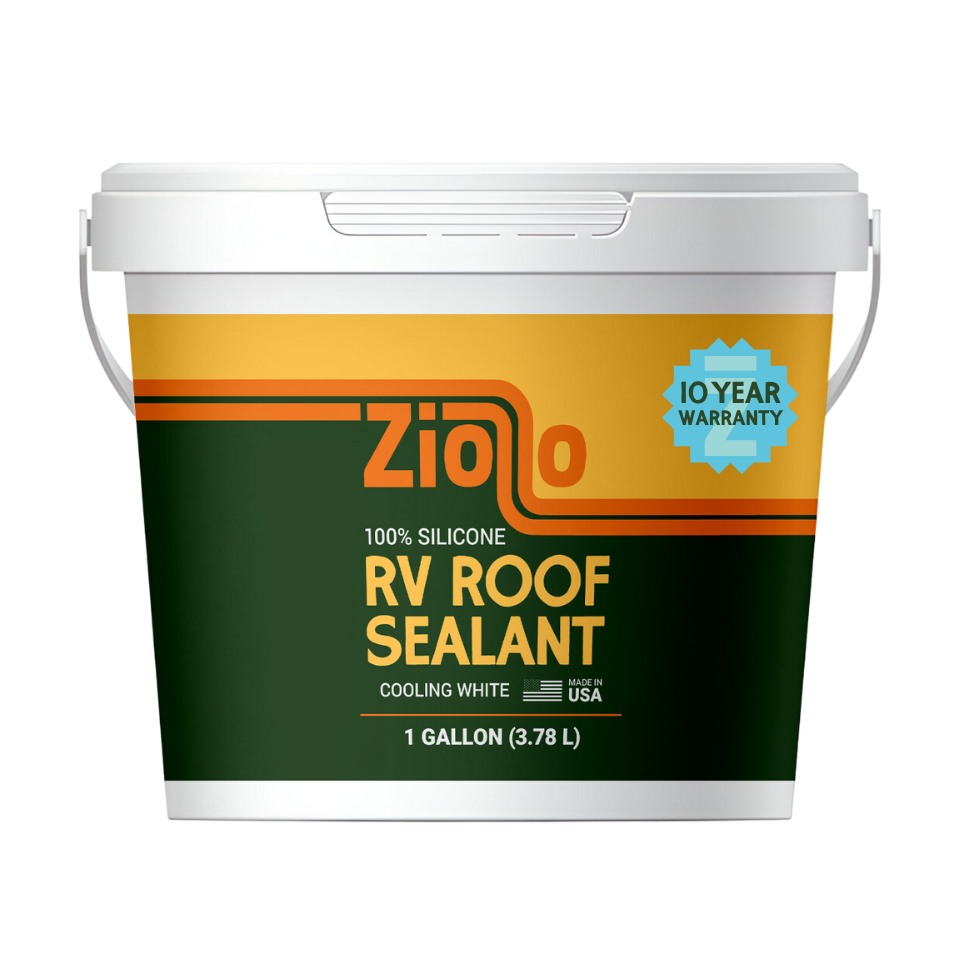
- Once you’ve prepared your RV roof, it’s time to seal it! Use the Ziollo 100% Silicone RV Roof Sealant with heavy coats around your vents, the air conditioner unit and your skylights.
- Next, use the 100% Silicone RV Roof Sealant to seal your entire roof. You may want to use a pail with an angled pour spout to spread the coating in areas where you use a roller or a brush on to move the product around.
-
You’ll ideally want 2 thick coats for optimal protection. Allow for about 24 hours of drying time in between coats.
Tips for Preventing Future Roof Leaks
Once you’ve repaired an RV roof leak, it’s important to take steps to prevent future leaks. One of the best ways to do this is to keep your roof clean and free of debris. Make sure to inspect your roof regularly for any damage or debris.
It’s also important to check the seals around vents and other openings. Make sure the seals are tight and free of any damage. If the seals are damaged or loose, they can allow water to seep in, causing a leak.
Last but not least, make sure to inspect the roof after any severe weather. High winds, hail, or heavy rains can all cause damage to the roof. Inspecting the roof after any severe weather can help you identify any potential issues before they become a problem.


