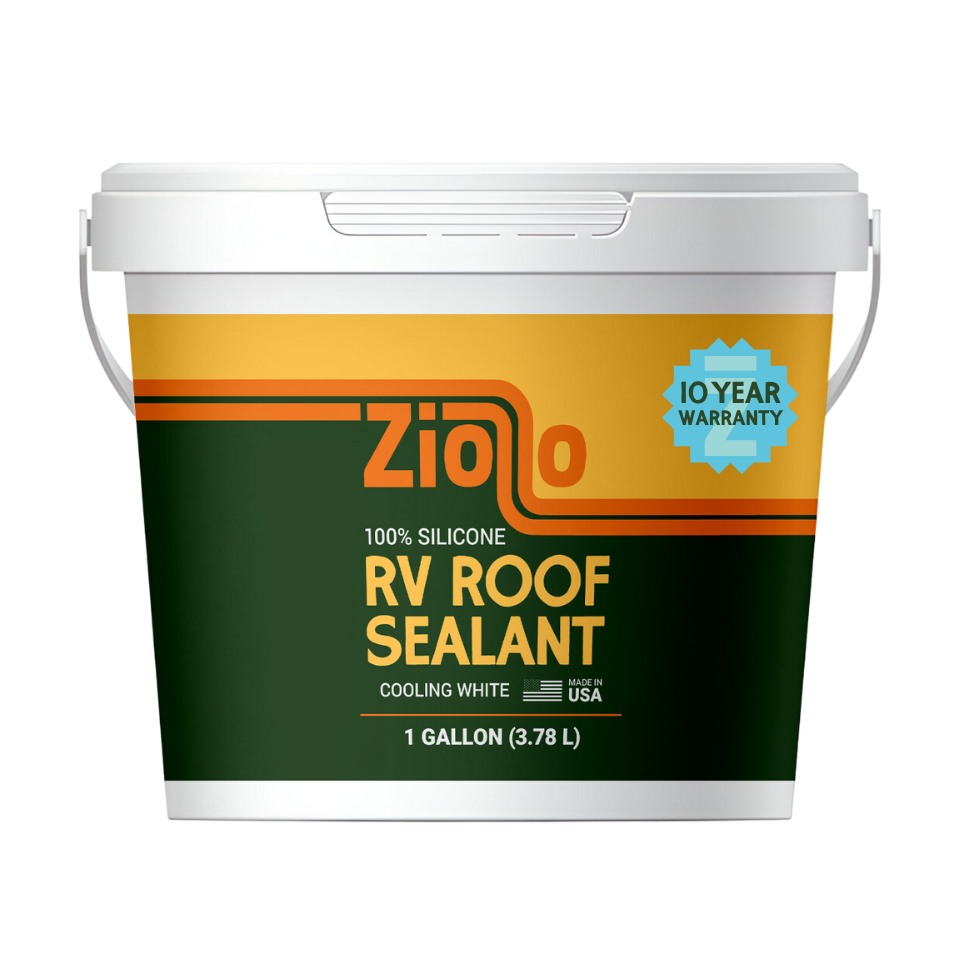
Owning an RV can be a fantastic way to explore the great outdoors, travel to new destinations, and spend quality time with friends and family. However, as with any vehicle, RVs require regular maintenance and upkeep to ensure they stay in tip-top shape. One of the most common issues that RV owners face is a leaking roof. In this comprehensive guide, we'll cover everything you need to know about how to repair RV roof leak.
Common causes of RV roof leaks
Before diving into the repair process, it's essential to understand the common causes of RV roof leaks. This will help you identify the source of the leak and determine the appropriate repair method.
-
Sealant failure: Over time, the sealant used around vents, skylights, and other roof fixtures can deteriorate and crack, allowing water to seep in.
-
Roof damage: Hail, tree branches, or other debris can cause punctures or cracks in your RV's roof material, leading to leaks.
-
Age and wear: As your RV ages, the roof material can become more susceptible to leaks due to general wear and tear or exposure to the elements.
-
Improper installation: If your RV roof or any of its components were not installed correctly, water could find its way inside.
-
Condensation: In some cases, the leak may not be due to external factors, but rather, condensation building up inside your RV and causing dampness.
Identifying the source of the leak
Before you can repair your RV roof leak, you first need to find the source. This can be a bit tricky, as water can travel along your roof's structure before dripping down, making the leak's origin difficult to pinpoint. Here are some steps to help you identify the source of the leak:
-
Inspect your RV interior: Look for signs of water damage, such as discoloration, soft spots, or mold on your ceiling, walls, and flooring. Pay close attention to areas around vents, skylights, and other roof fixtures.
-
Examine your RV exterior: Climb onto your RV's roof and carefully inspect the surface for any visible damage or potential leak sources. Look for cracked or missing sealant, punctures, or other signs of wear.
-
Perform a water test: To help pinpoint the leak's location, you can conduct a water test. Have someone spray water on your RV's roof while you inspect the interior for any signs of water infiltration. Start at the lowest point on the roof and work your way up, focusing on one section at a time.
Tools and materials needed for RV roof repair
Once you've identified the source of the leak, it's time to gather the necessary tools and materials for the repair. Depending on the nature of the leak and the repair method you choose, you may need some or all of the following items:
- Ladder
- Safety harness
- Soft-bristle brush
- Clean rags or towels
- Flex
- Paint roller and tray (for applying roof coating)
Preparing your RV roof for repair
Before you can tackle the actual repair, it's essential to properly prepare your RV's roof. This will help ensure a long-lasting, effective repair. Follow these steps to prepare your roof for repair:
-
Clean the roof: Using a soft-bristle brush and a mild detergent or specialized roof cleaner, gently scrub the entire roof surface to remove dirt and debris. This will help the sealant adhere better and allow you to more easily spot any additional damage.
-
Dry the roof: After cleaning, allow the roof to dry completely. This is crucial, as applying sealant or other repair materials to a wet surface will compromise their effectiveness.
-
Remove old sealant: If the leak is due to failing sealant, use a putty knife or scraper to carefully remove the old, damaged sealant from around the affected area.
-
Inspect and repair any additional damage: While preparing your roof, be sure to inspect for any additional damage that may need to be addressed. Repair any punctures, cracks, or other issues as necessary before proceeding with the leak repair.
Step-by-step guide on how to repair RV roof leak
Now that your roof is prepared, it's time to tackle the leak repair. Follow these steps to repair your RV roof leak:
-
Patch punctures or cracks: If your leak is due to damage in the roof material, use a patching material or repair tape to cover the damaged area. Cut a piece of the patching material slightly larger than the damaged area, and apply it according to the manufacturer's instructions. Ensure the patch creates a watertight seal and covers the entire damaged area.
-
Flex Seal to the Rescue: If the leak is due to failing sealant, apply a fresh layer of my signature sealant to the affected area. Use our roof restoration kit and apply a generous bead of sealant around the fixture or seam, ensuring that all gaps are filled. Smooth the sealant using a gloved finger or a putty knife, creating a watertight seal. Allow the sealant to cure according to the manufacturer's instructions. You can also seal your entire roof in about a weekend by adding a thick layer and painting or rolling it on.
-
Inspect your work: Once the sealant, patch, or coating has cured, inspect the repaired area to ensure a proper seal has been achieved. Perform another water test if necessary to confirm that the leak has been resolved.
Tips for maintaining your RV roof to prevent future leaks
Preventative maintenance is key when it comes to avoiding future RV roof leaks. By regularly inspecting and maintaining your RV's roof, you can catch potential issues before they become costly repairs. Keep these tips in mind to help maintain your RV roof and prevent leaks:
-
Inspect your roof regularly: At least twice a year (or more frequently if your RV sees heavy use), climb onto your RV's roof and perform a thorough inspection. Look for signs of damage, wear, or failing sealant, and address any issues promptly.
-
Clean your roof: Regularly cleaning your RV's roof will not only help prolong its lifespan but will also make it easier to spot potential issues during your inspections.
-
Check for condensation: Routinely inspect your RV's interior for signs of condensation buildup, and take steps to address any issues, such as improving ventilation or using a dehumidifier.
-
Address damage promptly: If you notice any damage to your RV's roof, don't ignore it. Promptly address any issues to prevent them from escalating into more significant problems.
By following this guide on how to repair RV roof leak and regularly maintaining your RV's roof, you can enjoy years of worry-free adventures on the open road.
Leave a comment: