The World's First RV Roof Products Guaranteed For The Life Of Your RV & Free Shipping!!!

STOP - 4 Things Every RV Owner Must Know about Their Roof

  1. Does the product you're applying need a Primer? Most RV Roof products do NOT stick well to EPDM Rubber Roofs without a Primer. RV Flex Repair products do not require a Primer for EPDM rubber roofs, Metal/Aluminum, or Fiberglass.
  2. Are the products you're applying compatible with each other? Products from different brands do not work well together. RV Flex Repair products, in contrast, are designed to be fully compatible with each other.
  3. Are the products you're applying waterproof? Most RV roof coatings are not waterproof and cannot handle ponding water. RV Flex Repair has a 100% silicone coating that is completely waterproof.

Is there a warranty that comes with your products? RV Flex Repair products are the only RV Roof products that come with a warranty, let alone a lifetime warranty!

RV Roof Sealant for Enhanced Protection

$99.95
48 Reviews
Size:
Color:

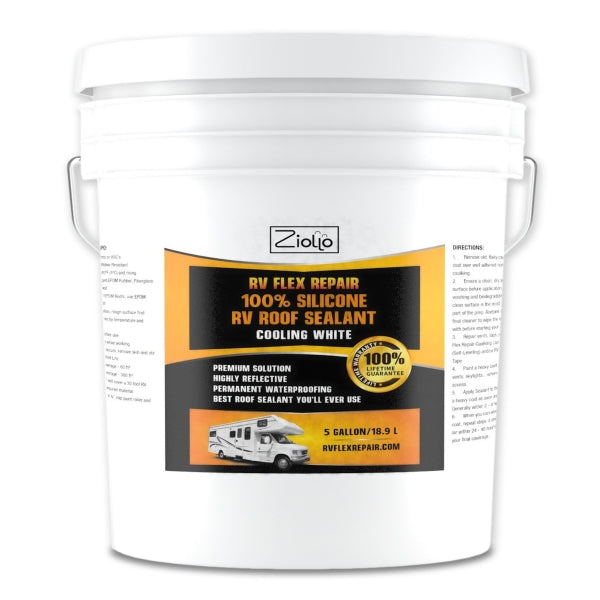
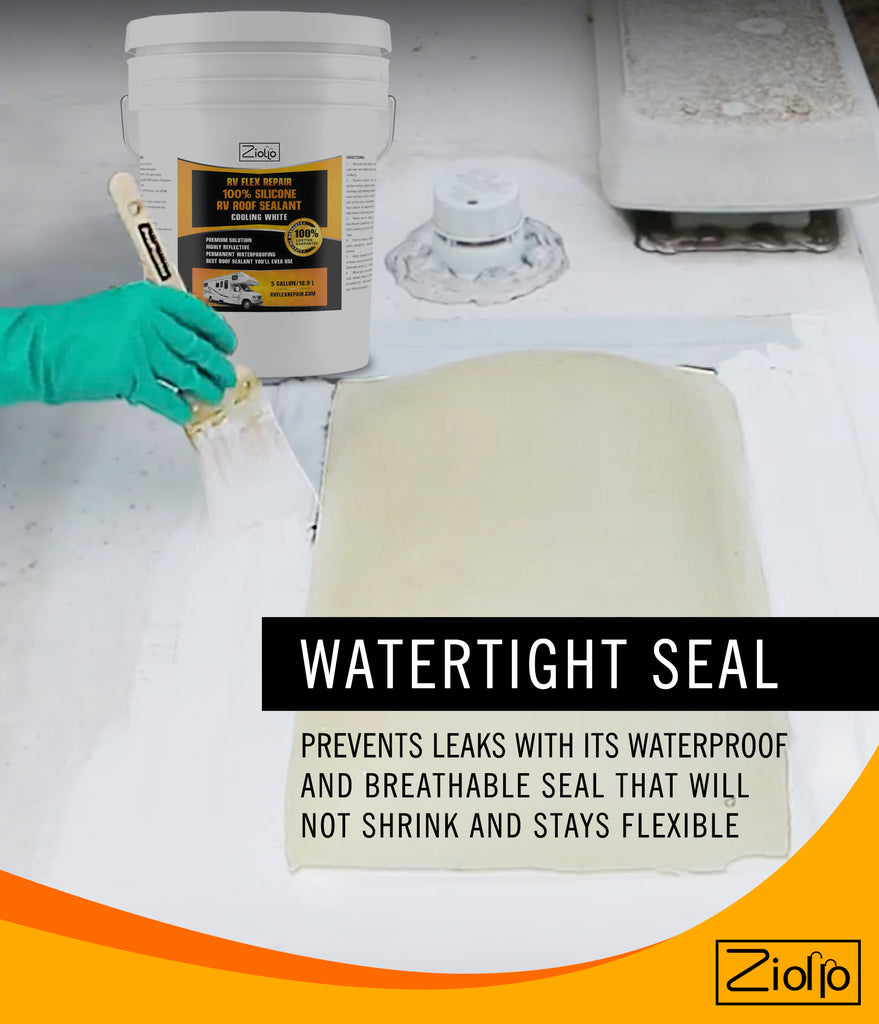
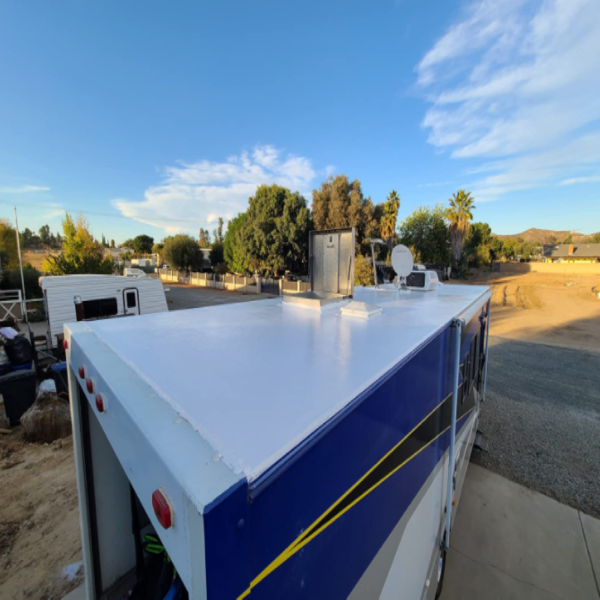
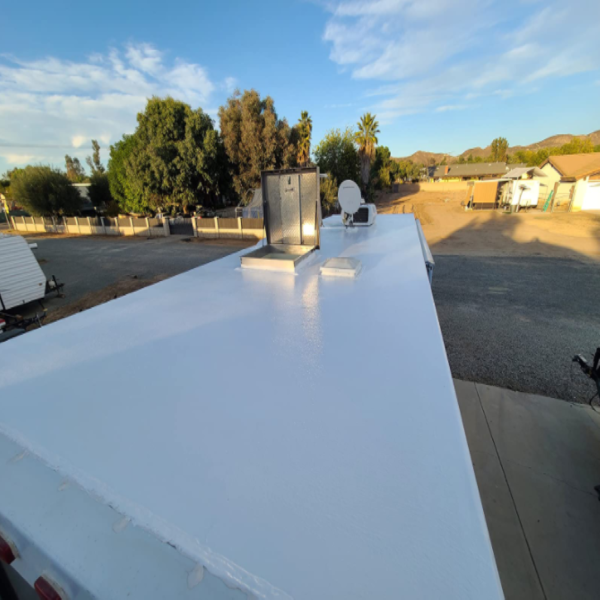
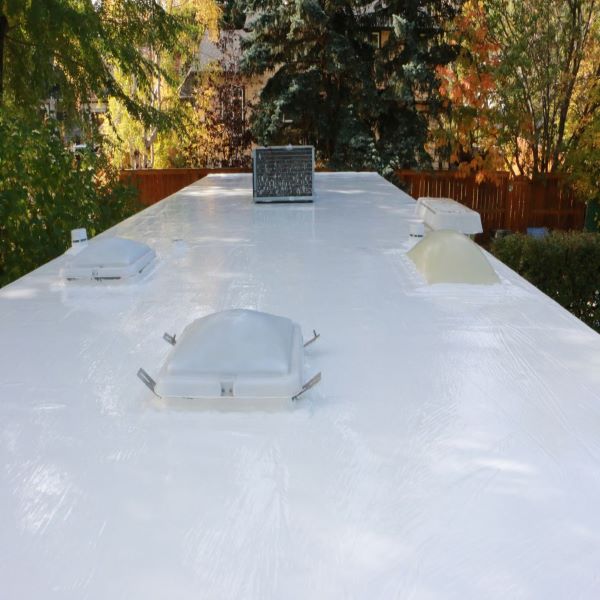
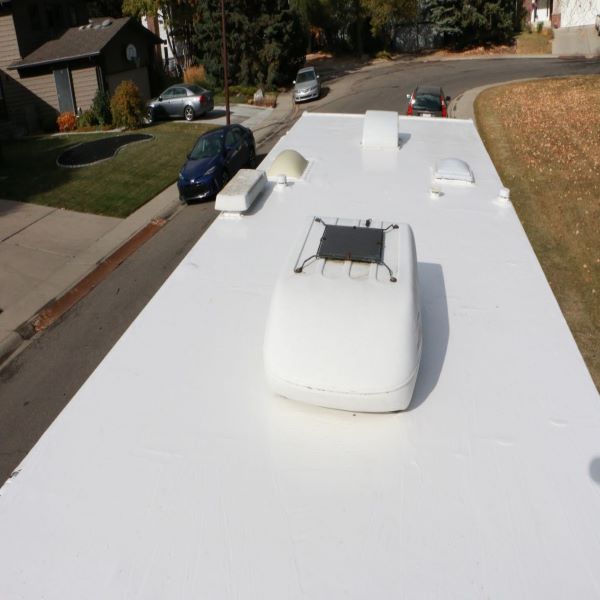
The right Silicone RV Roof Coating is a game-changer for any RV owners aiming to protect their vehicle from the elements. This sealant coating acts as a shield, locking out moisture and preventing leaks with unparalleled efficiency. Start your adventures knowing your RV roof is fortified with the best, ready for endless journeys under the open sky.

Is your RV’s roof getting tired? Ready to restore or repair your RV, camper, or trailer roof? Need a lifelong solution? Our roof sealant is what you need.

RV roofs have a limited life before they need to be replaced. Generally, it's on average every 10–15 years. This typically costs approximately $3000–$4000 each time unless you know the secret to restoring your roof once and for all at an average lifetime cost of about $549.95 with our roof coating.

Are you asking yourself how is this possible? It's possible with new technology that has been developed recently, which allows 50+ years of performance.

RV manufacturers who build RV's are not concerned about how long your roof lasts, they just want to make sales and have it last long enough so they don't get any warranty recalls. Plus, if they offer RV service centers, they make a killing servicing your RV year after year.

Now why would you want to dish out $10,000 over the life of your RV when you can do it once for about $549.95 with our roof sealant and have it guaranteed for the life of your RV?

I didn't want to either, and that's why I developed the only roof coating that is guaranteed for the life of your RV. Read MY STORY for full details.


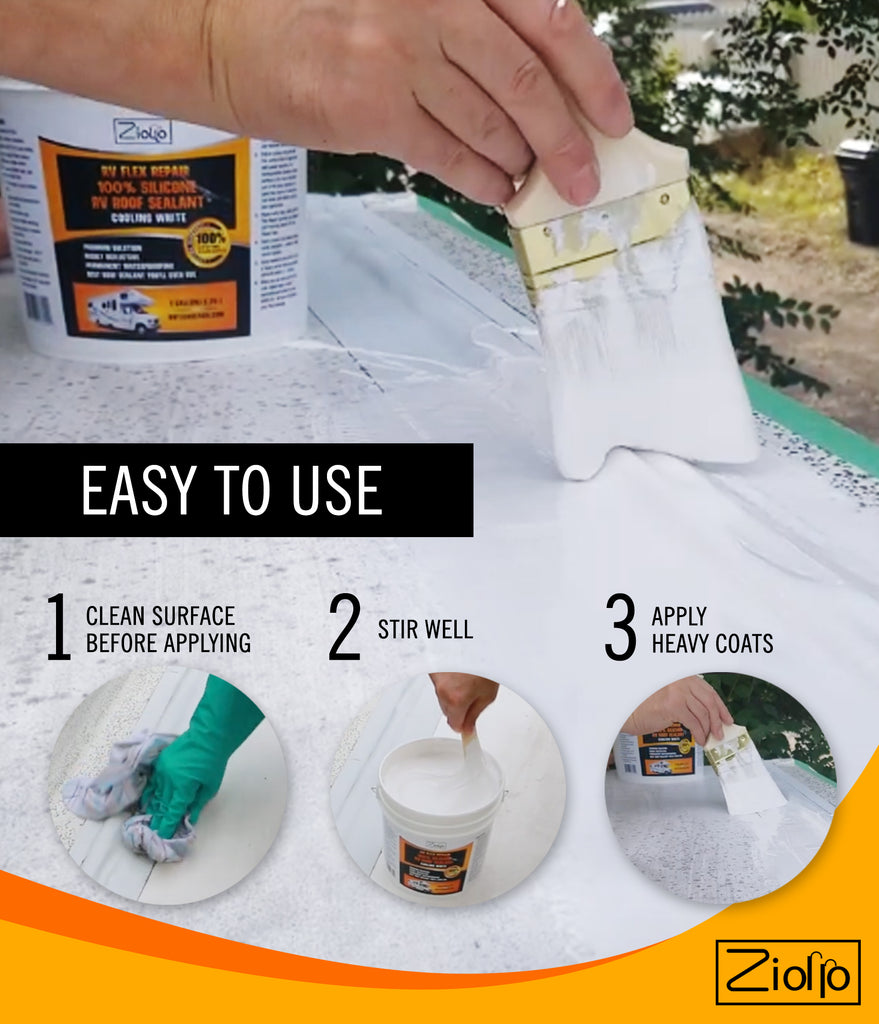
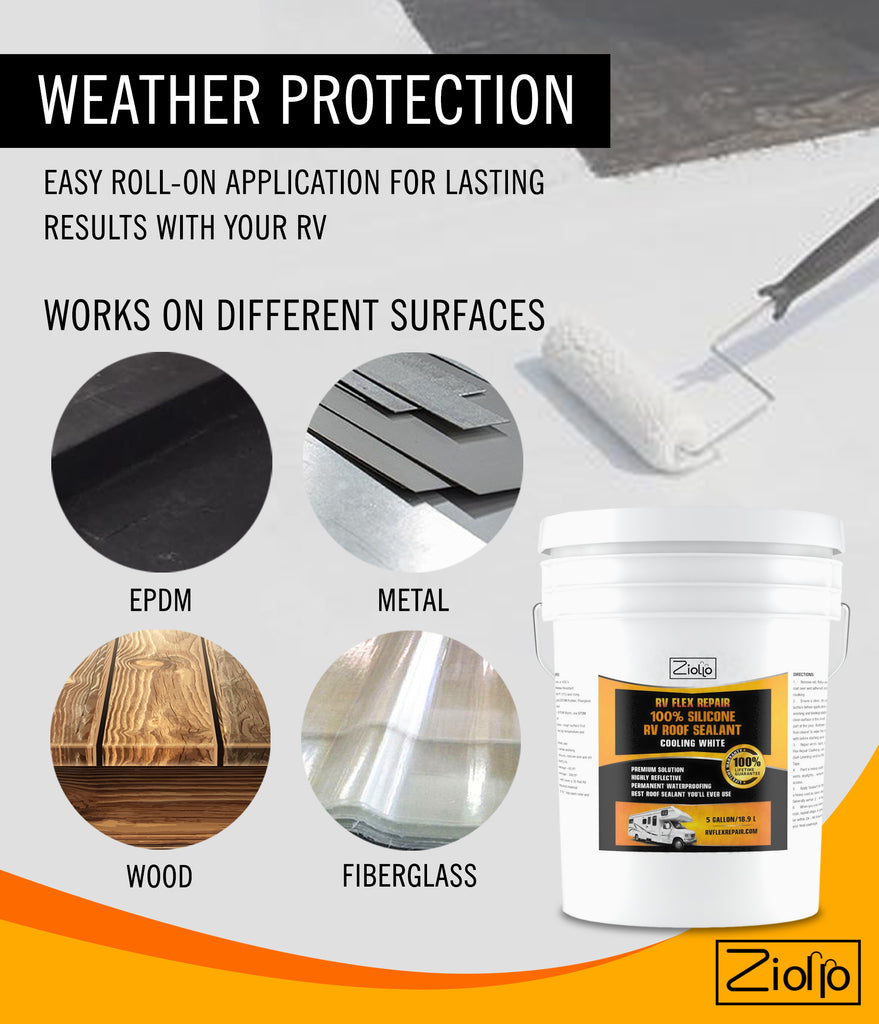
Proper application will extend the life of your RV’s roof, keeping it safe from the elements and ready for all your adventures. Follow this guide for a smooth, effective application.

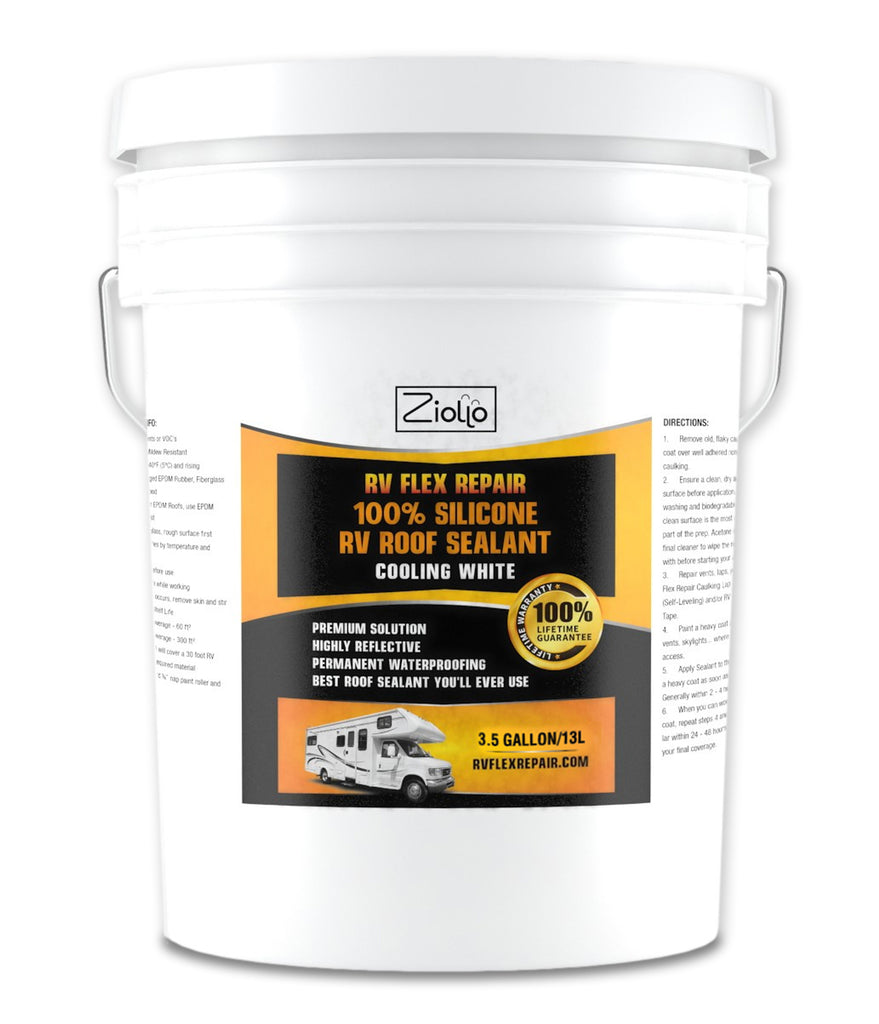
Step 1: Begin with power washing your RV, camper, or trailer roof for thorough cleaning. If unavailable, a scrub brush and bio-degradable cleaner work well. Remove all silicone and old, flaky caulking. Non-silicone caulking that's still adhered well can be coated over. Finish with an acetone wipe to enhance adhesion.

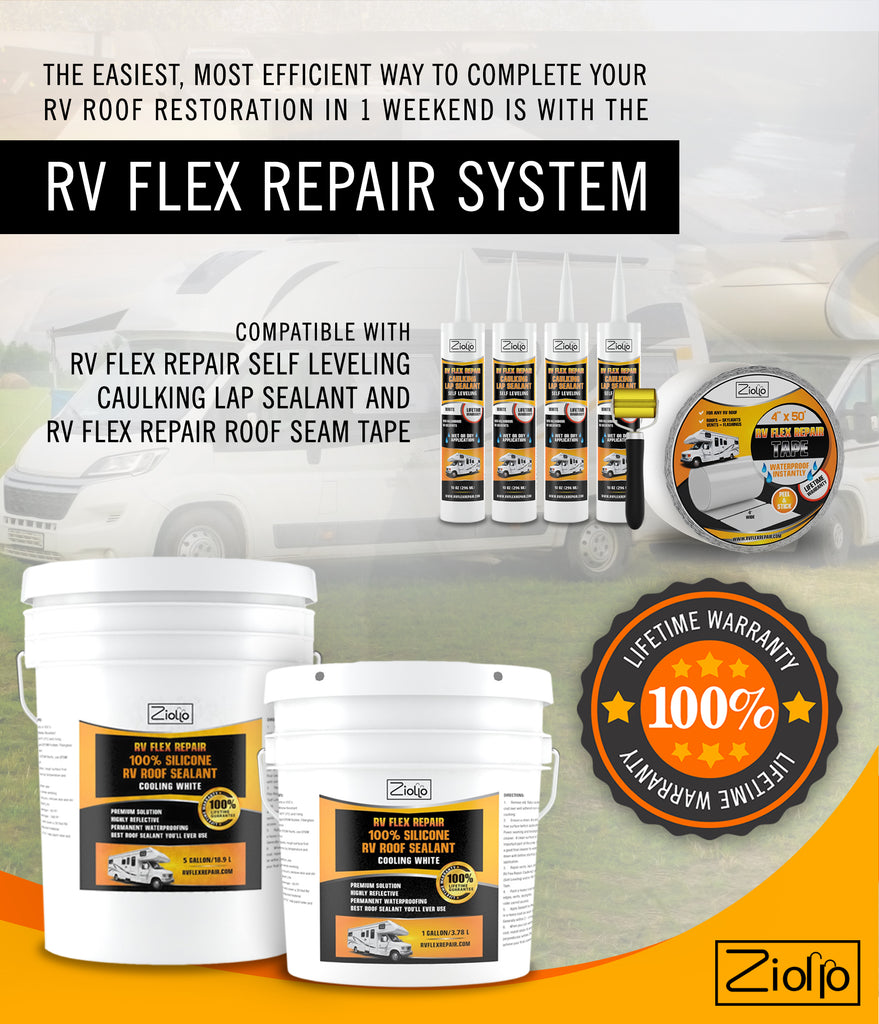
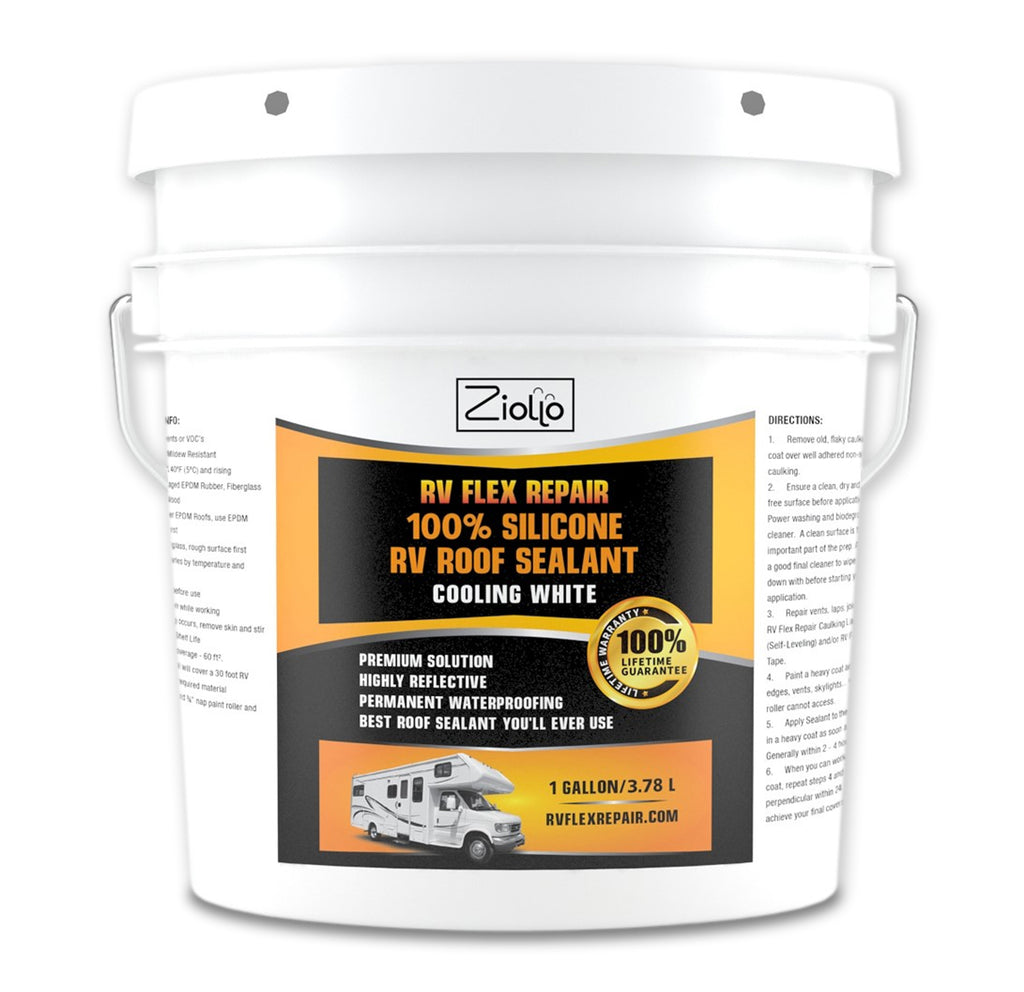
Step 2: Once dry, prepare the surface with RV Flex Repair products. Use RV Flex Repair Roof Tape for larger areas and seams and RV Flex Repair Self Levelling Caulking Lap Sealant around vents, seams, and skylights. Apply RV Flex Repair 100% Silicone RV Roof Coating in hard-to-reach areas like edges and around roof fixtures.

Step 3: Start with a heavy coat of 100% Silicone Roof Coating in areas that a roller can't reach, such as edges and around vents. Then, apply a heavy coat over the entire roof, using a small pail or pitcher to manage the coating.

Step 4: Aim to apply the coating thick enough to cover the entire roof in one coat. If the desired thickness isn’t achieved with the first coat, apply a second coat as soon as the first one is set, typically within 24 hours.

Tips for Effective Application

Follow these expert tips to navigate through a seamless, efficient application process for your roof using Silicone Sealant Coating.

  • Mix thoroughly: Always stir the coating well before each use to ensure even consistency throughout the application process.
  • Prevent curing: To prevent the coating from curing due to exposure to air moisture, replace the lid on the pail when not actively using it.
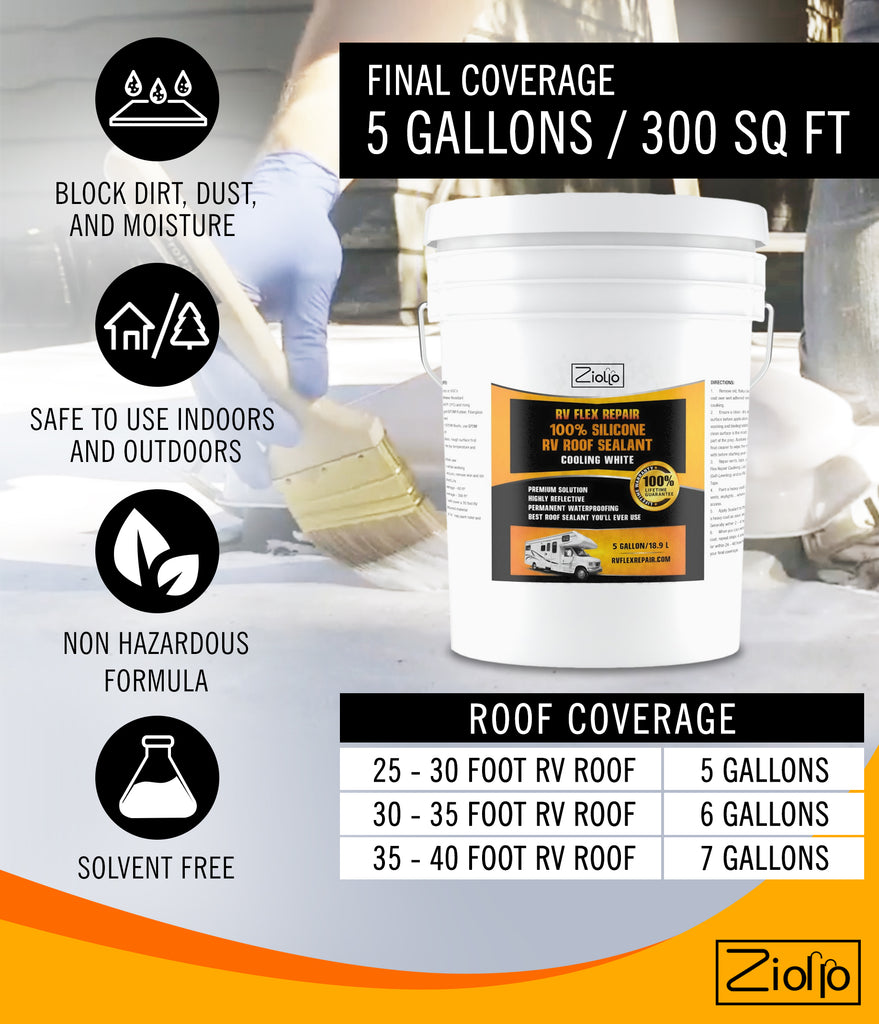
  • Coverage estimates: The coating is designed to cover approximately 60 sq ft per gallon. Here's what you'll likely need based on your RV's length:
    • 5 gallons for under a 30 ft RV
    • 6 gallons for under a 35 ft RV
    • 7 gallons for under a 40 ft RV
    • Application conditions: For best results, apply the coating when the ambient temperature is at 40°F (5C) or higher.
    • Surface compatibility: This coating works excellently on aged EPDM rubber roofs, fiberglass, metal, and wood. For a fiberglass surface, it's recommended to roughen or sand the area first for better adhesion.
  • Curing time: Keep in mind that curing times can vary depending on the temperature and humidity levels.
  • Dealing with skinning: If the coating starts to skin over in the pail, simply remove this layer and stir well before continuing your application.
  • Application technique: Use a standard roller for application, ensuring to apply heavy coats for optimal protection.
  • Shelf life and guarantee: Properly stored, the coating has a shelf life of 2 years, allowing for future use if needed. We stand by our product with a 100% Lifetime Guarantee, offering you peace of mind with your purchase.

That's how easy it is to repair your roof and forget about doing roof maintenance ever again. Go ahead and restore your roof for the last time now.

Customer Reviews
4.9 Based on 48 Reviews
5 ★
94% 
45
4 ★
6% 
3
3 ★
0% 
0
2 ★
0% 
0
1 ★
0% 
0
Write a Review Ask a Question

Thank you for submitting a review!

Your input is very much appreciated. Share it with your friends so they can enjoy it too!

Filter Reviews:
  • roof
  • stuff
  • application
  • reviews
  • coat
  • roller
  • surface
  • area
  • tape
  • clients
EP
10/03/2024
Eric P.
United States United States

2014 Heartland Landmark Savannah Roof Revival

The product arrived on time and in good condition. We took our time reading and understanding the instructions. We purchased the necessary supplies and then waited for good weather outlook to begin the project. This is prescribed for the main roof, but I was using it to repair both my main kitchen and living room slide roofs. We finally had a good 3-day window with no rain in the forecast and temperatures were in the mid-70s in Pittsburgh, so we got rolling on the project. I started around 10:30 am with a good cleaning of the silicone that was applied near the roof membrane. I also took some time to rough up the perpendicular metal and slide skin to get better adhesion. I also had to repair the outside tape strips because it had gotten bubbles with some water and dirt along the outside seams of both slides. This was a good thing because when I removed and cleaned the area, I could see that the screws had backed out slightly and needed a 1/4 turn to snug them up. Now that the silicone and tape was repaired, I moved on to washing the slide tops with biodegradable soap and water with a stiff bristle brush. We washed the membranes multiple times until the water was coming off more clearly. I wanted to make sure we did a great job preparing the surface to insure the best adhesion possible. I finished off the cleaning with Acetone as prescribed. Now that the membrane was clean and ready to go, I applied some blue painter's tape to the edges, and we pinned up the wiper seal with it as well. I began applying the roof coating with a brush along all 4-edges. The product goes on super thick and it's very difficult to spread it around once it touches the surface. I improved my technique as I went along, and I began to use a small cup to pour on the liquid roof coating and then I'd use the brush to spread it out evenly and work the tight corner spaces better. I did both of the slides with the brush before moving onto the roller. I prepared the roller and extension pole before pouring out the first batch of roofing material to be spread evenly in the center of the membrane. I worked from the center point out to the edges where I'd already applied the product with the brush. I put it on very thick with the first coat. The product will self-level as you work the roller over the surface. The hardest part was trying to avoid any areas of pooling. Once again, I improved my technique as I saw how the roof coating behaved with the roller passing over it and how it looked as it relaxed and settled into place. I would definitely recommend you have a new brush for each application period. I used the same brush on both slides within minutes. The product sets up and begins to skin over quickly, so you really need to be ready to work all surfaces or your brush will get gummed up with drying material. The same applies to the roller process. Move smartly about the roof to get the desired coating and then dispose of your roller for the day. The final product looks good so far. The initial skin formed fairly quick, which was good because we have many bugs walking on it already, and it appears to be drying smoothly. I can barely see the seams of the roof tape that I'd applied earlier in the day. I'm hopeful the product will maintain some elasticity since I've used it on slides rather than the main roof. This was still a more cost-effective alternative to removing the roof liner and replacing it. It was also much faster, and I completed the entire project in a single day.

JW
09/11/2024
Jonathan W.
United States United States

Great product

I very much like the quality of the product. My roof is curved, so it sagged quite a bit. Maybe if it could go on in two or three layers it might have been smoother. I don’t know if that is possible. It certainly is durable and cool.

TR
09/10/2024
Thomas R.
United States United States

RV roof

Overall, very pleased with this product. Easy step by step instructions. Prep your surface properly. Application was messy, but that's expected. One thing I would note, when you apply the product to the roof, pour it around the area you are working on evenly. This product is very think and difficult to pull to areas you want to apply. I do not have a review on how well the product protects at this time. I would recommend this product.

GC
08/08/2024
Garry C.
United States United States

Great and Simple Product

It’s an easy DIY product for those that have the proper tools, time and work ethic. Took me 2 days. I couldn’t be more satisfied.

M
08/07/2024
Michael SVG verified by SHOP
United States United States

Almost a year with no leaks!

What you need for your project:

To get started on your project, you'll need to gather a few essential items to ensure a smooth and effective application process:

  1. Power washer or biodegradable soap and scrub brush to clean the surface.
  2. Acetone and rags for a final wipe (available at stores like Home Depot or Walmart).
  3. One-time use paint brushes, rollers, and pole extensions (can be found in a Dollar Store).
  4. Paint tray and small bucket
  5. Disposable gloves
  6. Painter's tape

Warranty

When I created the RV Flex Repair product line, I wanted it to be hassle-free and last the life of your RV. I feel we've accomplished this and stand behind our products 100%. If, for any reason, your product has an issue, I will replace it or refund it over the life of your RV. Even if something strange happens, like a branch going through your roof, let me know, and I'll send you our free product to fix it. I don't know of anyone else who stands behind their products like this.

Free Shipping on All Orders

Enjoy the convenience of free shipping on every order, no matter where you are in North America. We believe in providing our customers with exceptional value. Shop with confidence, knowing that the price you see is the price you pay, with no hidden shipping charges.

Hassle-Free Returns Guarantee

We offer a 90-day return policy. If returned in the first 30 days, return shipping is free.. For returns between 31 to 90 days, a 20% restocking fee applies. We're committed to your satisfaction and making returns as easy as possible.

My Story

I was in the same situation as you trying to maintain and repair my Motorhome Roof. I said to myself, there has to be a better way. That's when my journey started to create the worlds best RV Roof solution. Read MY STORY HERE.

Ziollo RV Flex Repair - My Story

Full Application Video

This video shows how to prep and apply the Silicone RV Roof Sealant Coating for Trailer & Camper Repair.

FAQ

Get ready to experience RV roof magic with our Silicone Roof Sealant Coating. Here are some of the most common questions to help you get the best results.

Why are RV Flex Repair products the best option?

The products are formulated with ingredients that last 50+ years. They stand up to hot and cold environments and are UV stable. These products are backed by a 100% warranty, so you never have to worry again.

When will my order arrive?

Generally, we get your order to you in two to four days.

Can I return an item if I'm dissatisfied?

Yes, you can return items up to 30 days after you have received them. Just make sure it's in sellable condition, and we will provide you with a pre-paid return label.

Can I change or cancel my order?

Yes, if you made a mistake or need to change anything, email support@ziollo.com and we'll fix it right up for you.

Can this sealant be applied on a TPO roof?

Yes, the Silicone RV Roof Sealant Coating can be applied to a TPO roof with a primer. Use Liquid Rubber EPDM & TPO Primer for a complete seal that protects your RV roof effectively.

What kind of roller should I use to apply this coating?

For the Silicone RV Roof Sealant Coating, you can use a standard 3/8" nap paint roller. This ensures an even application of the coating over your RV roof, helping achieve a seamless and protective layer.

How many additional coats are required for full protection?

Typically, one heavy coat should suffice. However, additional coats may be necessary for complete coverage and protection, depending on the roof's condition and the first coat's thickness.