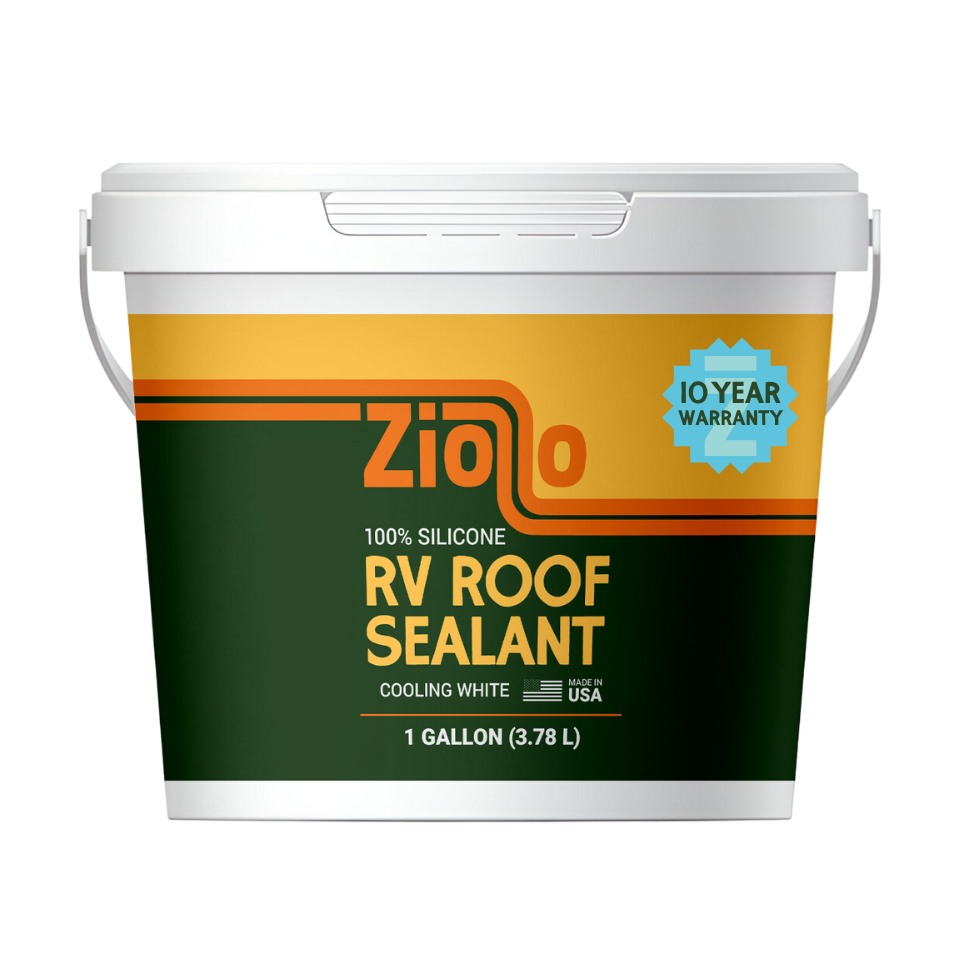
RV trips are all fun and games until the roof starts leaking. It's a common issue faced by many RV owners, but it's not something you should lose sleep over. With the right products and knowledge under your belt, you can easily tackle this problem head-on. This comprehensive guide will give you a step-by-step tutorial on how to use Ziollo RV Roof Sealant to reseal your RV roof effectively and efficiently.
Note: This is not a temporary fix. The Ziollo RV Roof Sealant is a long-lasting solution that will keep your RV leak-free for years to come.
Why Use Ziollo RV Roof Sealant?
Why should you opt for an RV roof sealer instead of other repair options? There are multiple reasons:
- Long-lasting: Ziollo RV Roof Sealant is designed to last for decades, ensuring that you don't have to reapply it every few years.
- Weather-resistant: It can withstand both hot and cold environments, making it perfect for your RV roof.
- Easy to apply: You don't need to be a professional to use this product. With the right tools and a little bit of patience, anyone can seal their RV roof.
- Warranty: Our product is backed by a Lifetime Warranty, providing peace of mind to our customers.
- Free shipping: Yes, you read that right! The shipping is absolutely free for this product.
Preparation Steps
Before you start applying the Ziollo RV Roof Sealant, you need to prepare your RV roof. Here's what you need to do:
Step 1: Cleaning
Start by cleaning your RV roof with biodegradable soap and a scrub brush. Make sure to remove any dirt or debris that might interfere with the adhesion of the sealer.
Step 2: Wiping
Once the roof is clean, use acetone and rags for a final wipe before application. You can easily find acetone at your local Home Depot, Walmart, or any other similar store.
Step 3: Checking
Check the roof for any large joints or seams that might need special attention. For these areas, you'll need to use the Ziollo Paintable RV Roof Seam Tape before applying the sealer.
Application Steps
Once your RV roof is clean and prepared, you can start applying the Ziollo RV Roof Sealant.
Step 1: Tape Application
The first step is to apply the Ziollo Paintable RV Roof Seam Tape to any large joints or seams. Cut the tape with scissors or a utility knife and apply it to the required areas. Use a roller for even application.
Step 2: Caulking
Next, apply the Ziollo Self-Leveling RV Roof Lap Sealant to any old or worn-out caulking and seams. Use a caulking gun for easy and even application.
Step 3: Sealer Application
Finally, you can start applying the Ziollo RV Roof Sealant. Use a paintbrush or a roller for application. Make sure to apply the sealer very heavy, especially around vents and edges.
Pro Tip: Use disposable gloves, brushes, and rollers for easy clean-up.
Post-Application Steps
Once you've sealed your RV roof, there are a few steps you need to follow:
Step 1: Drying
Let the sealer dry completely before you use your RV again. The drying time can vary based on the weather and humidity levels.
Step 2: Checking
Once the sealer is dry, check your RV roof for any missed spots or areas that might need a touch-up.
Step 3: Cleaning
Clean up your tools and dispose of any used brushes, rollers, and gloves.
Storage & Cleaning
If you have some of the Ziollo RV Roof Sealant. left, store it in a dry, cool room with low humidity. If you need to store an opened can or pail of the coating, place a piece of plastic on the surface to help prevent surface curing.
Frequently Asked Questions
Here are some of the frequently asked questions about Ziollo RV Roof Sealant:
- Can I add another coat years later? Yes, you can apply the Ziollo RV Roof Sealant on top of itself for a touch-up. Just ensure that the surface is clean and dry.
- How much product do I need? The amount of product needed depends on the size of your RV roof. As a rule of thumb, one gallon of Ziollo RV Roof Sealant covers approximately 50 square feet with two coats.
- What type of roof can I use this on? The Ziollo RV Roof Sealant can be used on most RV roofs, including EPDM rubber roofs, fiberglass roofs, and metal/aluminum roofs. If you have a TPO roof, you'll need to use a TPO roof coating primer before applying the sealer.
Let's Wrap This Up!
With this comprehensive guide, you're now equipped to reseal your RV roof with the Ziollo RV Roof Sealant. It's a long-lasting, weather-resistant solution that will keep your RV leak-free for decades. Plus, it's easy to apply and backed by a 100% warranty, providing peace of mind for all RV owners.
So don't let a leaky roof ruin your RV trips. Grab your Ziollo RV Roof Sealant today and get your RV roof back in shape!
Happy RVing!


