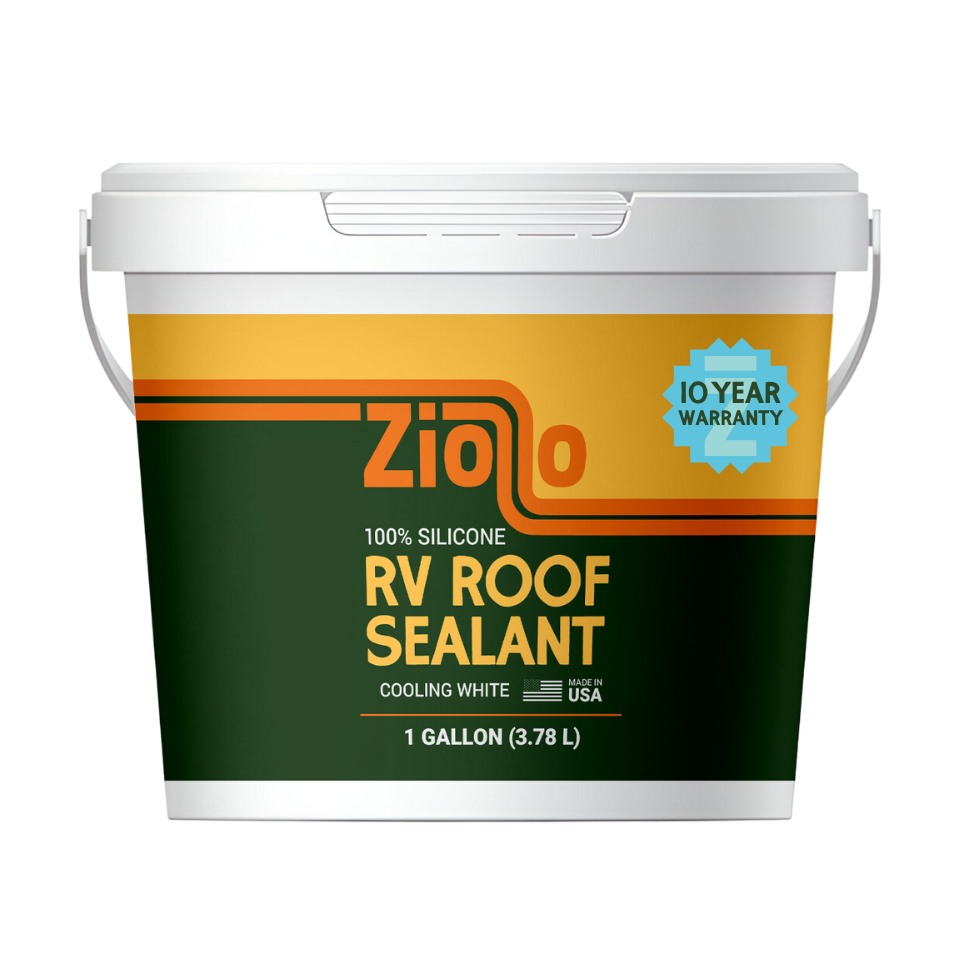
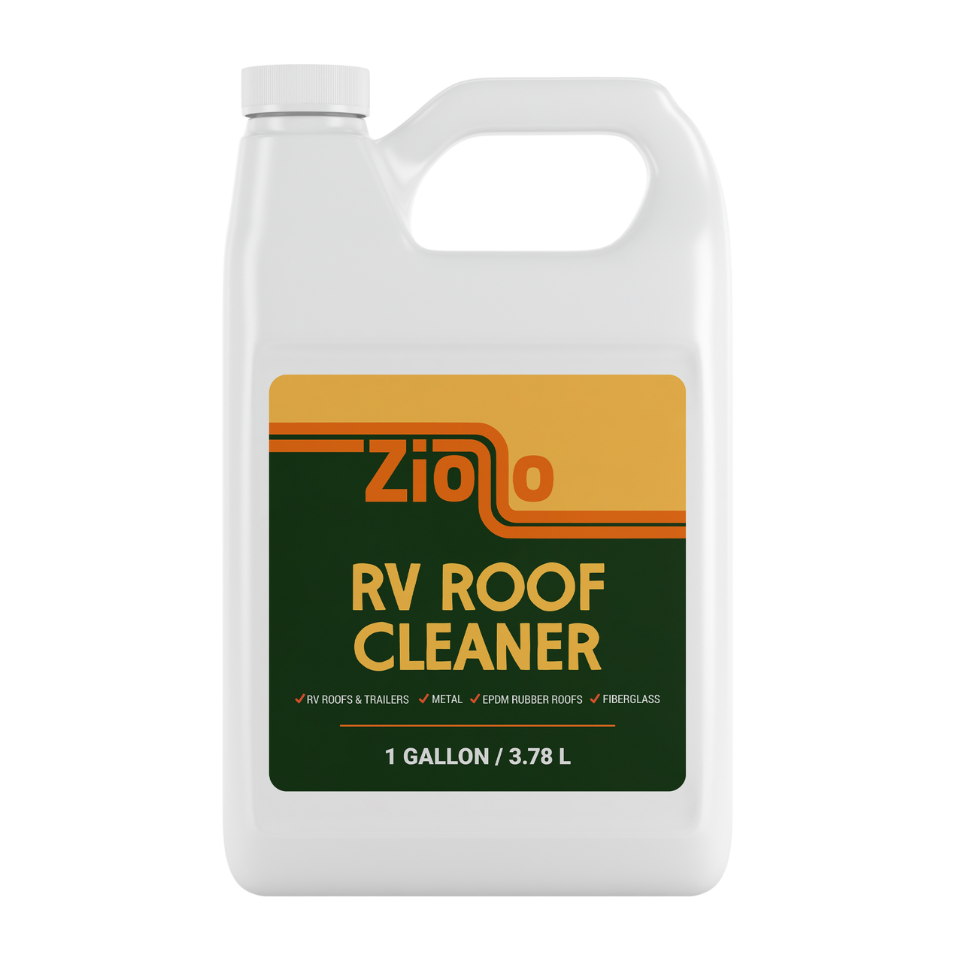
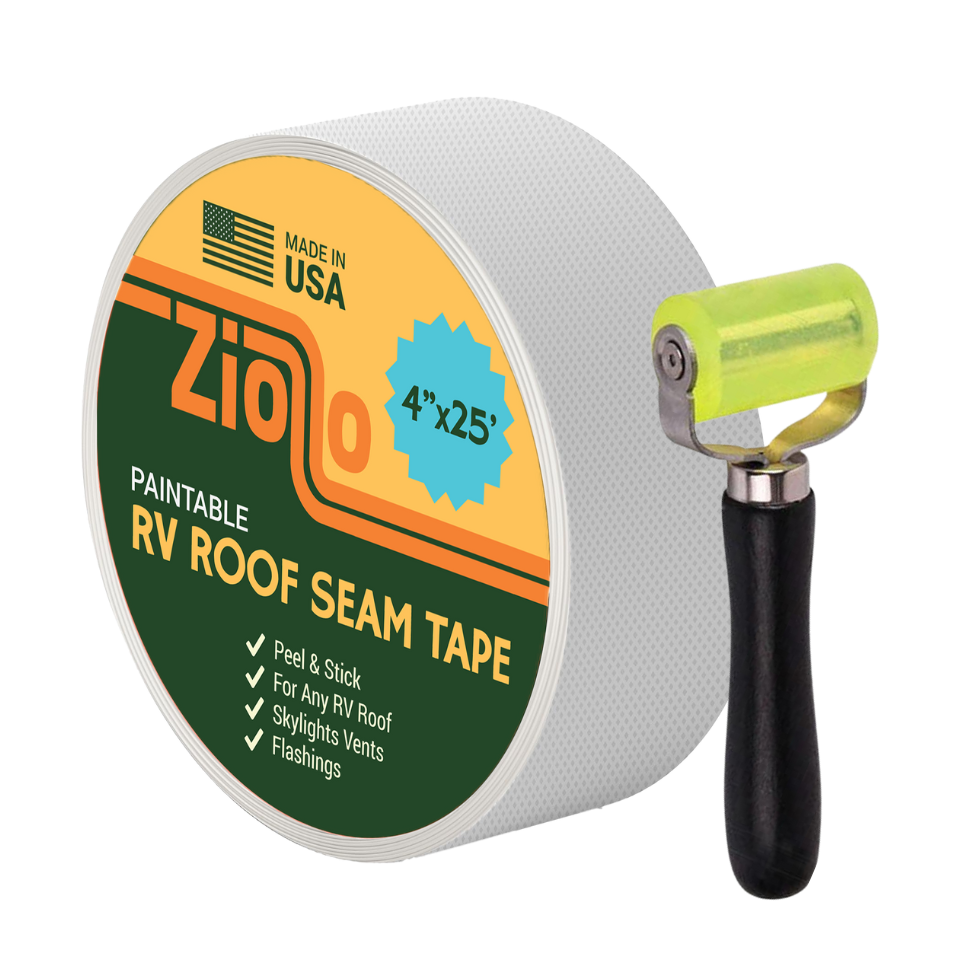
The right Silicone RV Roof Coating is a game-changer for any RV owners aiming to protect their vehicle from the elements. This sealant coating acts as a shield, locking out moisture and preventing leaks with unparalleled efficiency. Start your adventures knowing your RV roof is fortified with the best, ready for endless journeys under the open sky.
Is your RV’s roof getting tired? Ready to restore or repair your RV, camper, or trailer roof? Need a lifelong solution? Our roof sealant is what you need.
RV roofs have a limited life before they need to be replaced. Generally, it's on average every 10–15 years. This typically costs approximately $3000–$4000 each time unless you know the secret to restoring your roof once and for all at an average lifetime cost of about $549.95 with our roof coating.
Are you asking yourself how is this possible? It's possible with new technology that has been developed recently, which allows 50+ years of performance.
RV manufacturers who build RV's are not concerned about how long your roof lasts, they just want to make sales and have it last long enough so they don't get any warranty recalls. Plus, if they offer RV service centers, they make a killing servicing your RV year after year.
Now why would you want to dish out $10,000 over the life of your RV when you can do it once for about $549.95 with our roof sealant and have it guaranteed for the life of your RV?
I didn't want to either, and that's why I developed the only roof coating that is guaranteed for the life of your RV. Read MY STORY for full details.
Proper application will extend the life of your RV’s roof, keeping it safe from the elements and ready for all your adventures. Follow this guide for a smooth, effective application.
Step 1: Begin with power washing your RV, camper, or trailer roof for thorough cleaning. If unavailable, a scrub brush and bio-degradable cleaner work well. Remove all silicone and old, flaky caulking. Non-silicone caulking that's still adhered well can be coated over. Finish with an acetone wipe to enhance adhesion.
Step 2: Once dry, prepare the surface with RV Flex Repair products. Use RV Flex Repair Roof Tape for larger areas and seams and RV Flex Repair Self Levelling Caulking Lap Sealant around vents, seams, and skylights. Apply RV Flex Repair 100% Silicone RV Roof Coating in hard-to-reach areas like edges and around roof fixtures.
Step 3: Start with a heavy coat of 100% Silicone Roof Coating in areas that a roller can't reach, such as edges and around vents. Then, apply a heavy coat over the entire roof, using a small pail or pitcher to manage the coating.
Step 4: Aim to apply the coating thick enough to cover the entire roof in one coat. If the desired thickness isn’t achieved with the first coat, apply a second coat as soon as the first one is set, typically within 24 hours.
Tips for Effective Application
Follow these expert tips to navigate through a seamless, efficient application process for your roof using Silicone Sealant Coating.
-
Mix thoroughly: Always stir the coating well before each use to ensure even consistency throughout the application process.
-
Prevent curing: To prevent the coating from curing due to exposure to air moisture, replace the lid on the pail when not actively using it.
-
Coverage estimates: The coating is designed to cover approximately 60 sq ft per gallon. Here's what you'll likely need based on your RV's length:
- 5 gallons for under a 30 ft RV
- 6 gallons for under a 35 ft RV
- 7 gallons for under a 40 ft RV
-
Application conditions: For best results, apply the coating when the ambient temperature is at 40°F (5C) or higher.
-
Surface compatibility: This coating works excellently on aged EPDM rubber roofs, fiberglass, metal, and wood. For a fiberglass surface, it's recommended to roughen or sand the area first for better adhesion.
-
Curing time: Keep in mind that curing times can vary depending on the temperature and humidity levels.
-
Dealing with skinning: If the coating starts to skin over in the pail, simply remove this layer and stir well before continuing your application.
-
Application technique: Use a standard roller for application, ensuring to apply heavy coats for optimal protection.
-
Shelf life and guarantee: Properly stored, the coating has a shelf life of 2 years, allowing for future use if needed. We stand by our product with a 100% Lifetime Guarantee, offering you peace of mind with your purchase.
That's how easy it is to repair your roof and forget about doing roof maintenance ever again. Go ahead and restore your roof for the last time now.
What you need for your project:
To get started on your project, you'll need to gather a few essential items to ensure a smooth and effective application process:
- Power washer or biodegradable soap and scrub brush to clean the surface.
- Acetone and rags for a final wipe (available at stores like Home Depot or Walmart).
- One-time use paint brushes, rollers, and pole extensions (can be found in a Dollar Store).
- Paint tray and small bucket
- Disposable gloves
- Painter's tape