The World's First RV Roof Products Guaranteed For The Life Of Your RV & Free Shipping!!!

Why Is My RV Roof Leaking? Your Comprehensive Guide to Detection and Repair

Why Is My RV Roof Leaking? Your Comprehensive Guide to Detection and Repair
Owning a recreational vehicle (RV) is a dream for many people, offering the freedom to travel at will and always have a comfortable place to sleep. Yet, the joy can quickly turn into a nightmare when you discover that your RV roof is leaking. Understanding why your RV roof is leaking and knowing how to detect and repair these leaks promptly can save you from expensive repairs down the line.

RV Roof Leaks: A Silent Enemy

One of the most damaging issues an RV owner can face is a leaking roof. It's an issue that, if left unattended, can cause severe damage to your RV's interiors and significantly decrease its value. Primarily, the damage comes from water seeping in through the leaks, damaging the interior furnishings and appliances.

This water intrusion can lead to electrical issues and more extensive problems that require costly repairs. This is why addressing any roof leak in your RV should be a top priority for any proactive owner. 

The Importance of Regular RV Roof Inspections

The first step to preventing major RV roof leaks is regular inspection. Regular checks can help you identify potential issues early, saving you from extensive damage and high repair costs. A comprehensive inspection includes the interior, the exterior, and, most importantly, the roof of your RV.

To safely inspect your RV roof, refer to your RV's owner's manual for information about roof safety. The manual should provide information on the roof's weight-bearing capacity. If your RV features a ladder for roof access, it typically means the roof can support a person's weight.

During your inspection, look for areas that appear cracked, dried, or punctured. Pay special attention to the seals at the roof edges and around any roof fixtures such as vents or antennas.

Inside the RV: Checking for Water Damage

An internal inspection can also reveal signs of roof damage. Look for dark spots on the ceiling or upper wall panels, which can indicate water seeping through a damaged roof. Sunlight shining through small areas in the ceiling is another sign that water can seep through.

If you identify signs of roof damage and leaks, it's crucial to act quickly before the problem worsens, leading to the need for a new roof installation, which can be costly and time-consuming.

The Quick Solution: Fixing RV Roof Leaks

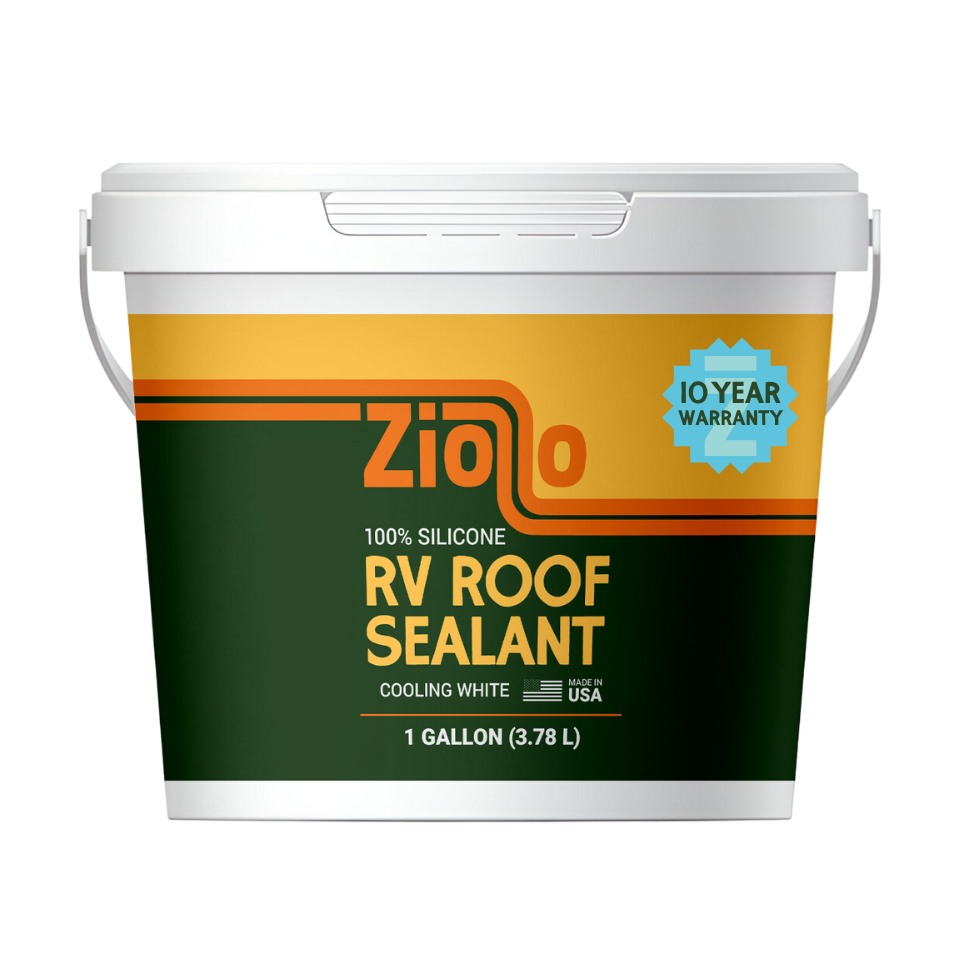
The most convenient way to fix an RV roof leak is to use a high-quality roof coating and sealant. A new coating not only protects your roof from the elements, including sun, snow, and rain, but also seals any existing leaks and damages.

For rubber roofs with minor damages, a small tube of quality rubber sealant or specially designed repair tape can do the trick. If the caulking around your roof joints, air conditioning units, and vents isn't satisfactory, a quality caulk can improve your roof's durability.

The In-depth Solution: RV Roof Leak Repair Guide

While a quick fix can resolve minor leaks, more severe leaks require a more comprehensive approach. This section will guide you through the steps to effectively conduct an RV roof leak repair.

Identifying the Leak

Your first task in RV roof leak repair is to identify the source and severity of the leak. This step involves a thorough inspection of your RV, both inside and out.

On the roof, pay special attention to the seams around vents, skylights, and other openings. If these seams appear cracked or dried, they could be allowing water inside. If you can't pinpoint the source but continue to experience leaks, consider seeking professional help to conduct a more thorough inspection.

Thoroughly Drying the RV

The next step is to dry out the RV. Opening up the doors and windows of your RV and exposing it to sunlight can help, especially if you live in a sunny and dry climate. A dehumidifier and heaters can also speed up the process.

Applying a Roof-Appropriate Sealant

Once your RV is thoroughly dry, you can apply a sealant suitable for your roof type. There are many products available for RV roof leak repair, each designed for specific roof materials.

For instance, if you have an aluminum roof with leaks around vents and skylights, you can apply a sealant. If the fiberglass itself is damaged, you can use a fiberglass repair kit. For rubber roofs, a new layer of RV Flex Repair can fix tears and weaknesses.

Preventing Future Leaks

RV roof leak repair is essential, but prevention is even better. Regular inspections of your RV roof can help identify potential leaks before they become a significant problem. You should also check the caulking and sealant around your windows, doors, vents, and skylights regularly. Additionally, covering your RV with a weather-proof tarp when it's not in use can prevent leaks and other problems.

Going the Extra Mile: Pressure Testing for RV Leaks

While regular inspections and prompt repairs can prevent and fix most leaks, sometimes you need to go the extra mile for complete peace of mind. That's where pressure testing comes in.

Pressure testing for water leaks works by creating a higher air pressure inside the RV than outside, forcing air to escape from any crevices. The outside of the RV is then sprayed with soapy water, and wherever air escapes, soap bubbles will appear. This technique helps locate leaks on the roof or anywhere else on the RV where water leaks are present.

Pressure testing doesn't only detect roof leaks. It can find leaks along the sides of the RV, around the moldings, compartment doors, and windows. Pressure testing your RV can cost anywhere between $250 to $400, depending on the size of your RV.

While you can pressure test for leaks yourself, it might be more efficient to let professionals handle it. They can ensure that the right amount of pressure is used and that all potential leak points are adequately sealed.

How to Use Self-Leveling Caulking for RV Roof Leak Repair

If you've identified a leak in your RV roof and want to repair it yourself, one of the best tools you can use is self-leveling caulking. This type of caulking is designed to flow into cracks and gaps, creating a water-tight seal. Here's a step-by-step guide on how to use self-leveling caulking for RV roof leak repair:

  1. Clean the Area: Start by cleaning the area around the leak. Remove any dirt or debris, and make sure the surface is dry.
  2. Apply the Caulking: Cut the tip of the caulking tube at a 45-degree angle. Using a caulking gun, apply the caulking to the leak, making sure to completely cover the area.
  3. Let it Set: Allow the caulking to set. Self-leveling caulking will flow into the crack or gap, creating a smooth, level surface. This can take anywhere from a few hours to a day, depending on the size of the gap and the specific product you're using.
  4. Check the Repair: Once the caulking has set, check the repair. Make sure there are no gaps or bubbles in the caulking. If necessary, you can apply a second layer of caulking.

Remember, while self-leveling caulking can be an effective solution for minor leaks, it's not a substitute for professional repair for severe leaks or damage.

Investing in Regular RV Roof Maintenance

Regular RV roof maintenance is not just about protecting your investment; it's about ensuring your safety and comfort while on the road. According to a study by IMHA-RVIC Canada, a well-maintained RV roof can last more than 20 years. However, a neglected one may need replacement in less than five years.

To keep your RV roof in top shape, consider routine inspections, timely repairs, and using quality products for maintenance. If you're unsure about any aspects of RV roof maintenance or repair, don't hesitate to seek professional help.

Wrapping Up

An RV roof leak isn't a problem to take lightly. Understanding why your RV roof is leaking and knowing how to detect and repair these leaks promptly is essential. As an RV owner, your primary goal should be to keep your RV in the best possible condition for as long as possible. Regular inspections, immediate repairs, and preventive measures are crucial aspects of achieving this goal.

For more valuable information on RV maintenance and repair, explore other posts on the RV Flex Repair blog.

Leave a comment: